Edit your Brand in the Navigation Bar
Edit Toggles
First ensure you have enabled Edit Mode by clicking the Edit Mode button, as directed in the previous step of this guide.
Edit Button with Edit Mode disabled
Once Edit Mode is enabled, you will see editing tools appear. Hover over the Navigation Bar at the top of the page, over the text of your Business Name. You will see the Edit Toggle, labeled Brand appear. Click on this component to edit your Brand in the Navigation Bar.
Opening the Editor

Hovering over the brand component displays the Edit Toggle
Clicking the Brand Edit Toggle opens the Editor on the side of the screen. The editor is divided into sections for changing different settings of the Brand as it appears in the Navigation Bar.
Edit the Brand Name
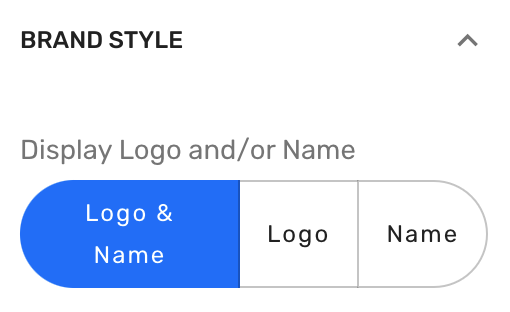
Under the section titled Brand Style, you will see a form input to change what appears in the Brand component, labeled Display Logo and/or Name. By default this is set to Logo & Name. With this option set to Logo & Name, you can display both a brand image and a brand name.
Scroll down to the Subsection titled Name, and change the field labeled Brand Name. Watch as the Brand name in the Navigation Bar changes in realtime.

Edit the Brand Logo
Since the Brand Style has been set to show both the Logo & Name, the Navigation Bar will display a logo on the left of the Brand Name if an image has been assigned as the Logo.
Uploading an Image
In order to upload an image and assign it as the Brand Logo, scroll to the Logo subsection and click on the + button under Select Brand Logo.
Once the image has finished uploading, it will appear in the image selection area as a thumbnail. Click the thumbnail to assign it as the Brand Logo.
Save your Changes
In order to save these changes, you must click the Save Changes button at the bottom of the Editor.